Melt & Pour Soap Base - General Instructions
Everything You Need to Know to Get Started
Important Safety Advice ⚠️
✔ Always patch test before use — Apply a small amount of finished soap to a small area of skin (inner wrist or elbow). Wait 24 hours to check for any irritation before broader use.
✔ Essential Oil Safety — Do not exceed 2% essential oil of total soap weight. Some oils may irritate sensitive skin — avoid on infants, young children, or sensitive areas without professional advice.
✔ Keep out of reach of children — Melted soap can become very hot. Never leave melting soap unattended.
✔ Avoid contact with eyes — If contact occurs, rinse thoroughly with water.
✔ For external use only — This product is not edible.
✔ Allergy Awareness — Always check the ingredient list carefully. Discontinue use if irritation occurs.
✔ Handle with care — Use heatproof jugs & tools. Melt gently and stir often.
💡 Tip: If gifting or selling your soap, always label it clearly and include a full ingredient list for your recipient.
How To Use Your Melt & Pour Soap Base
Create custom, skin-loving soap bars at home — no complicated formulation required.
Tools & Equipment You’ll Need:
✔ Heatproof Jug or Bowl — Glass or metal is best.
✔ Kitchen Scale — For measuring your base and extras accurately.
✔ Spatula or Spoon — For stirring.
✔ Knife or Soap Cutter — To chop your base into small pieces.
✔ Soap Mould — Silicone or rigid moulds work great.
✔ Optional: Spray Bottle with Rubbing Alcohol — To remove surface bubbles.
Preparation & Cleanliness
Clean hands, clean tools, clean space. This keeps your soap looking professional and helps prevent marks, dust, or fingerprints.
✔ Wash hands thoroughly.
✔ Wipe down all surfaces.
✔ Rinse tools and moulds in boiling water and allow to dry fully.
Step-by-Step Instructions
1. Cut & Melt
→ Cut your soap base into small, even cubes.
→ Melt using either:
- Microwave: Heat in 10-second bursts. Stir in between until 70% melted.
- Double Boiler: Place jug over simmering water. Stir occasionally.
💡 Remove from heat when approx. 70% melted. Stir continuously until fully melted using residual heat.
2. Cool Slightly
Allow soap to cool to ~50–60°C before adding extras. This preserves essential oils and prevents overheating.
3. Customise (Optional Additions)
You can add up to 5% of your total soap weight in combined extras:
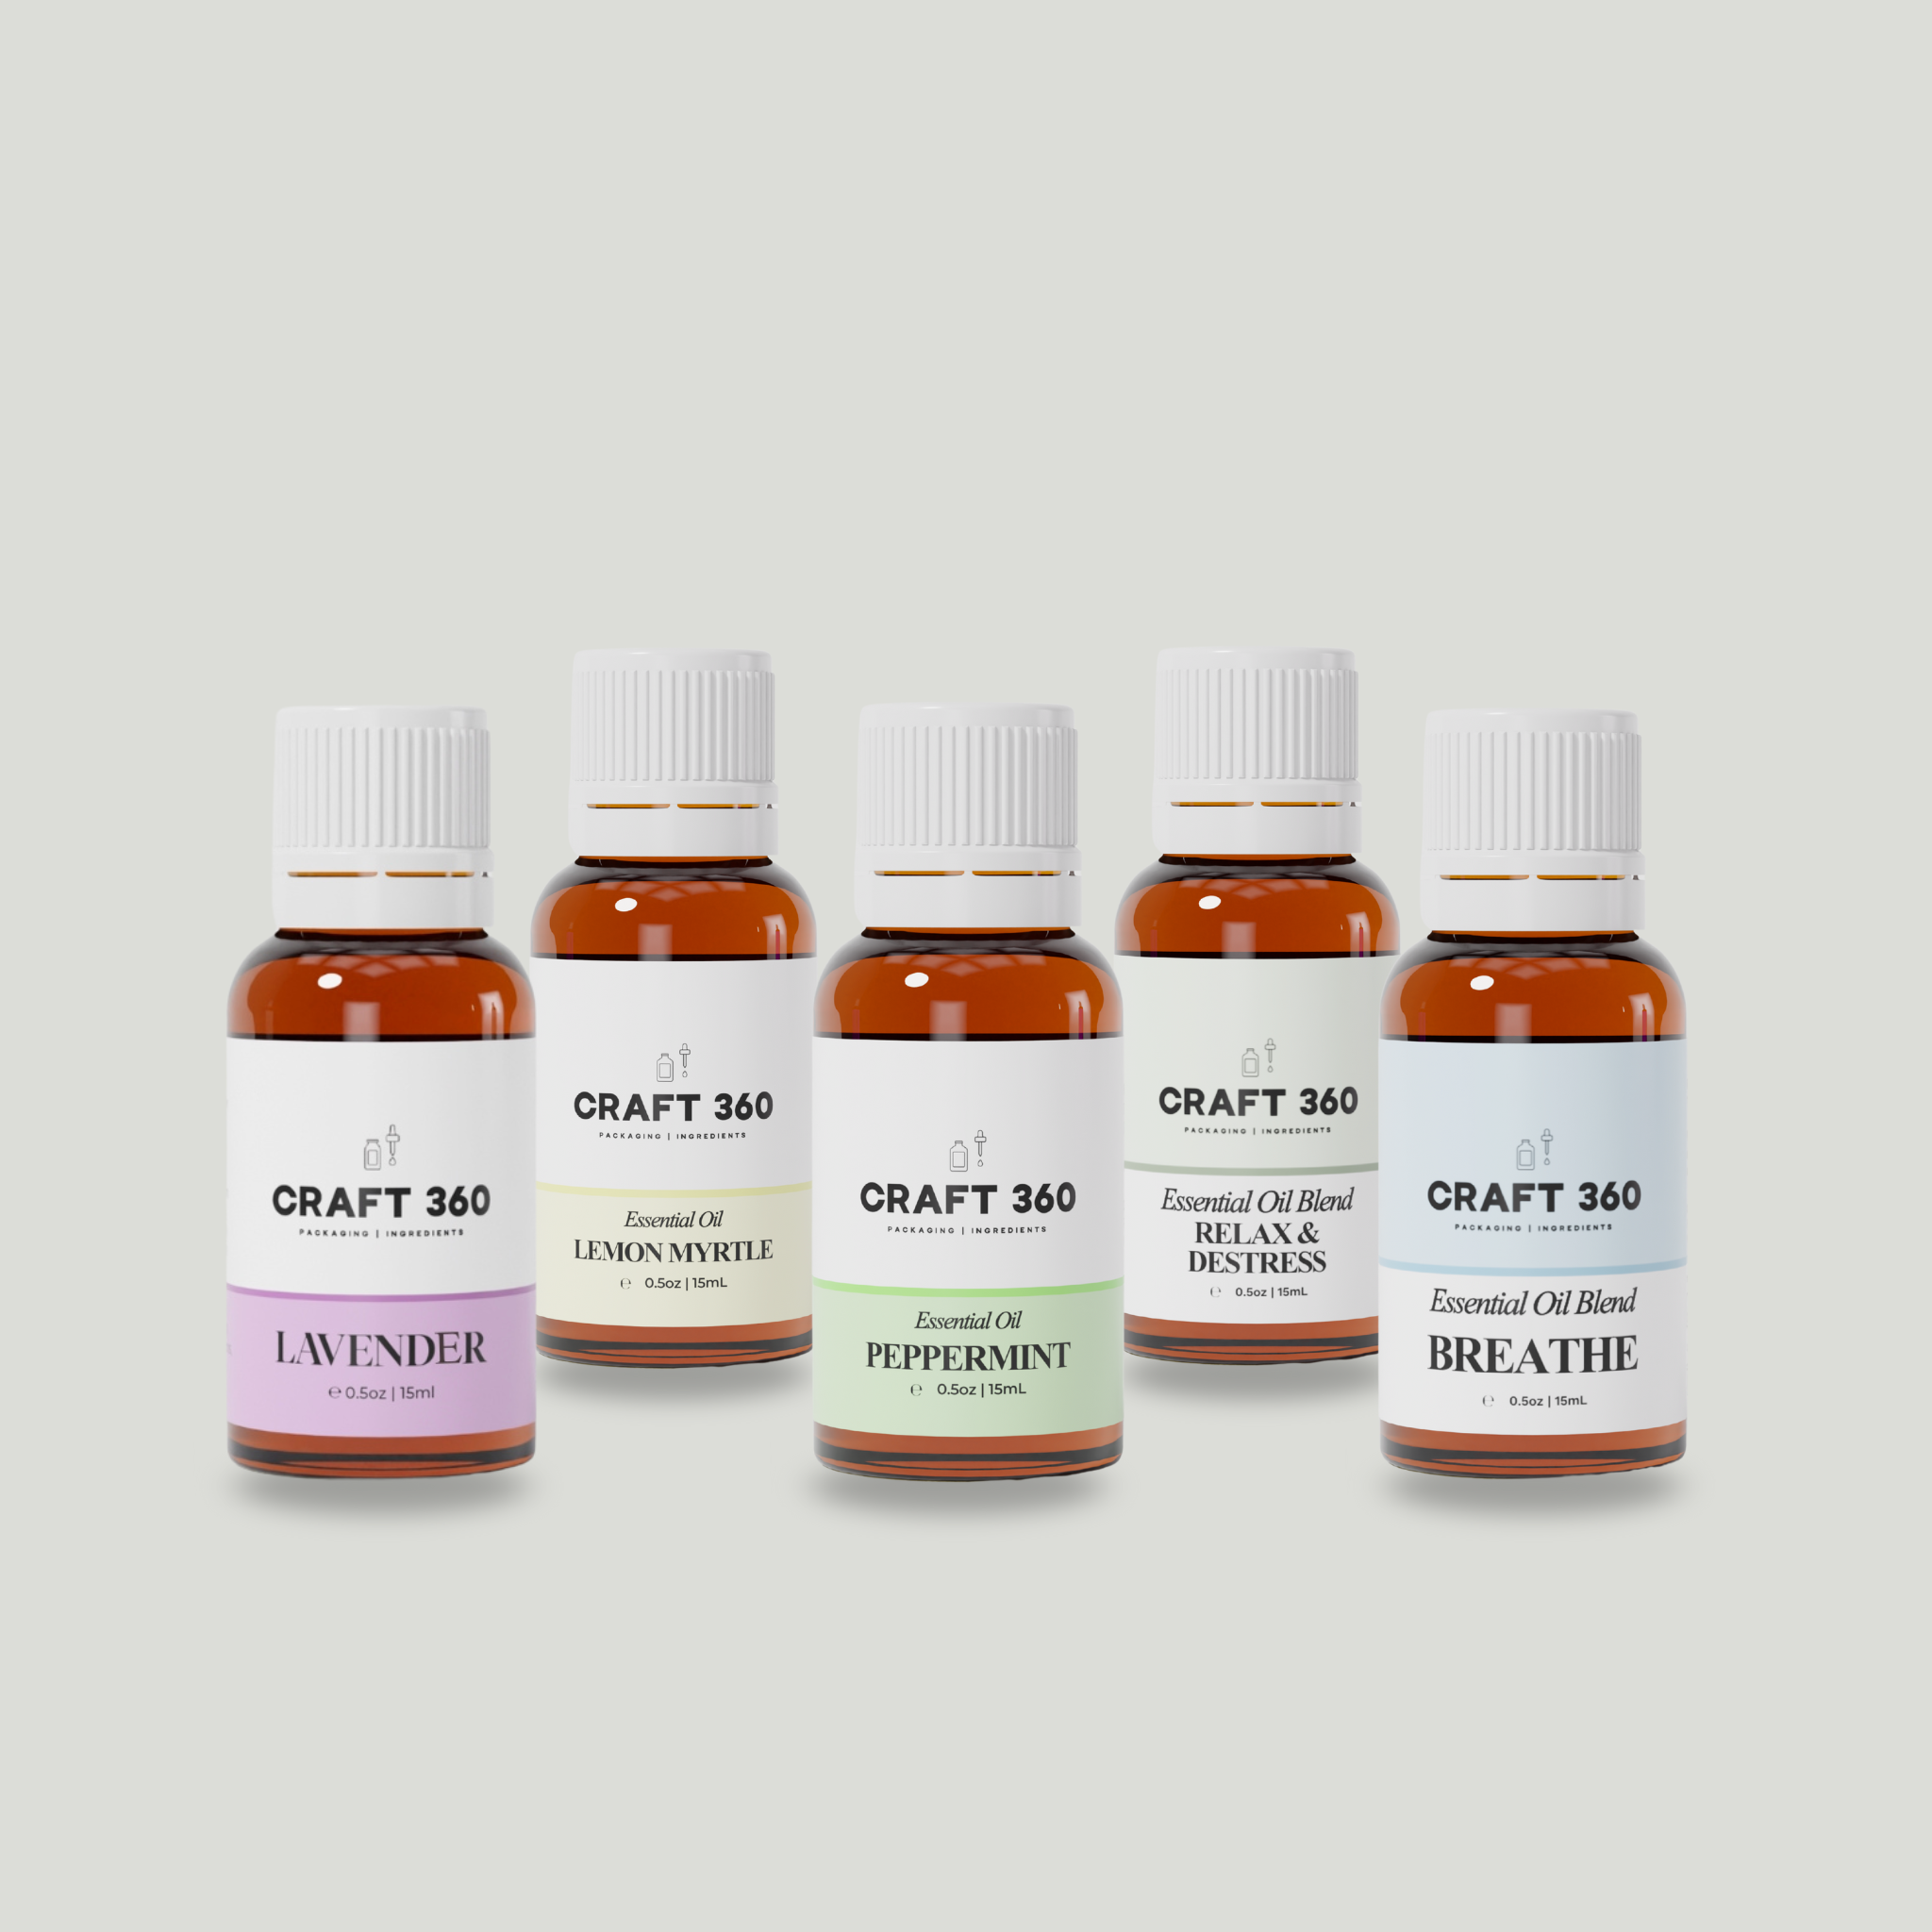
→ Essential Oils — For fragrance & aromatherapy (0.5%–2%).
→ Carrier Oils — For added nourishment (up to 2%). Too much may soften your bars.
→ Botanicals — For decoration or exfoliation (e.g., herbs, petals).
→ Clays — For creamy texture or colour (e.g., kaolin, pink clay).
→ Colourants — For creative colour effects.
→ Extracts — For skin benefits (max 2% if glycerine-based to avoid sweating).
💡 If soap overheats, stir in small amounts of water (1 tsp at a time) to reduce sweating or dryness.
4. Pour Into Mould
Pour your soap into clean, dry moulds.
→ For surface bubbles:
- Leave for a handmade look
- Spray lightly with rubbing alcohol
- Scrape the surface once set
5. Let It Set
Let soap set at room temperature for 2–4 hours (or longer for large bars).
✔ Unmould carefully.
✔ Wrap or store in an airtight container to prevent sweating.
Final Tips
✔ Store finished soap in a cool, dry place.
✔ Always patch test before full use.
✔ Be creative — every batch is uniquely yours!